
Step7: Programming on an Amiga 500

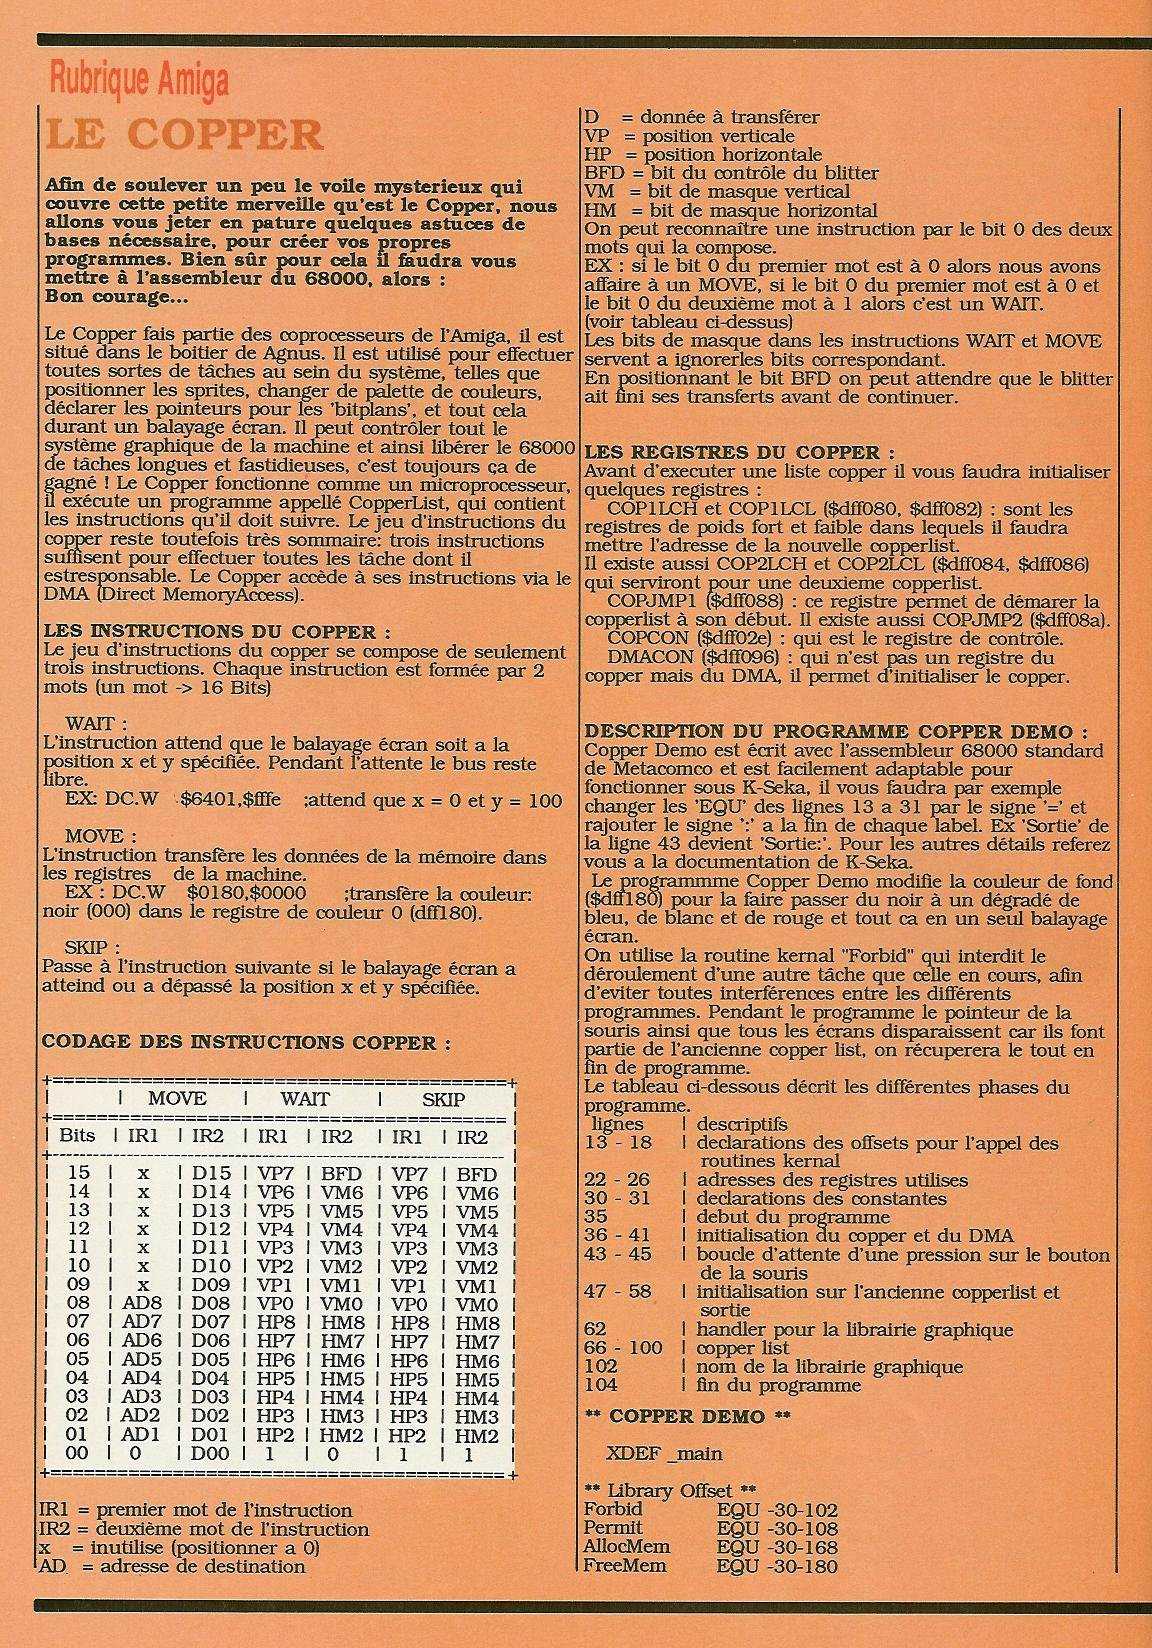
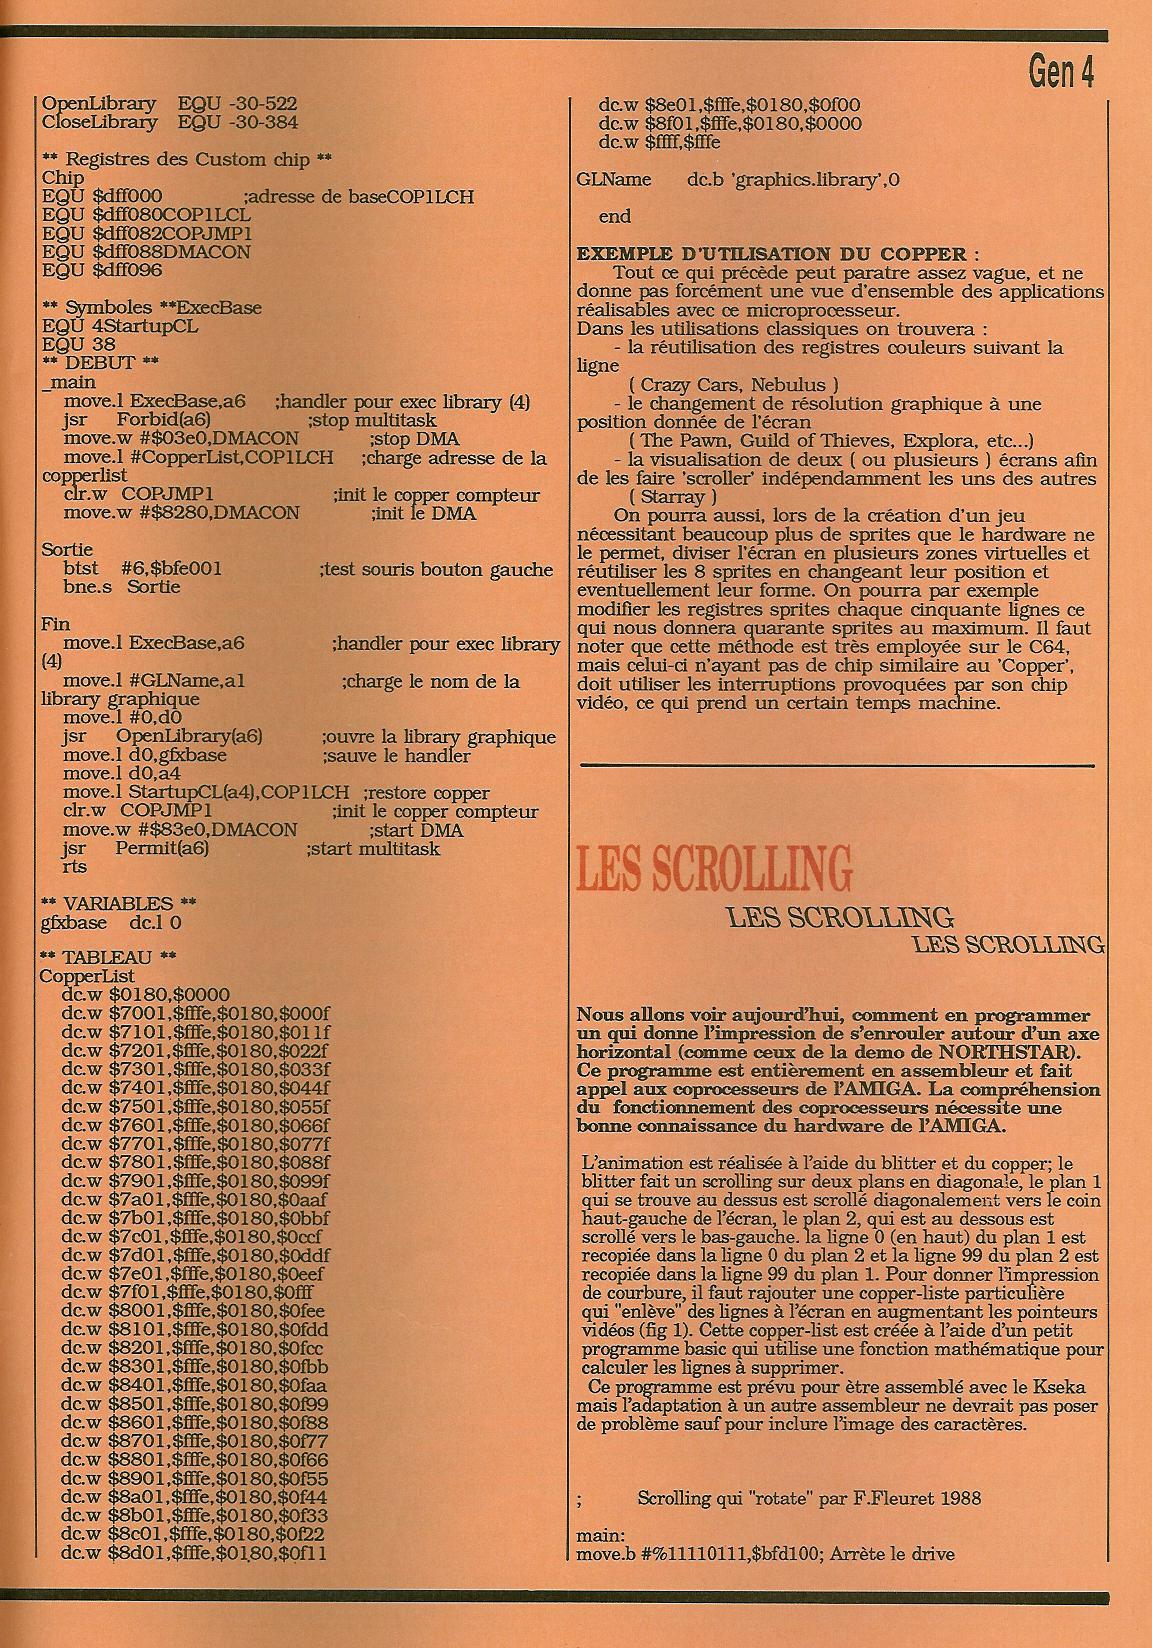
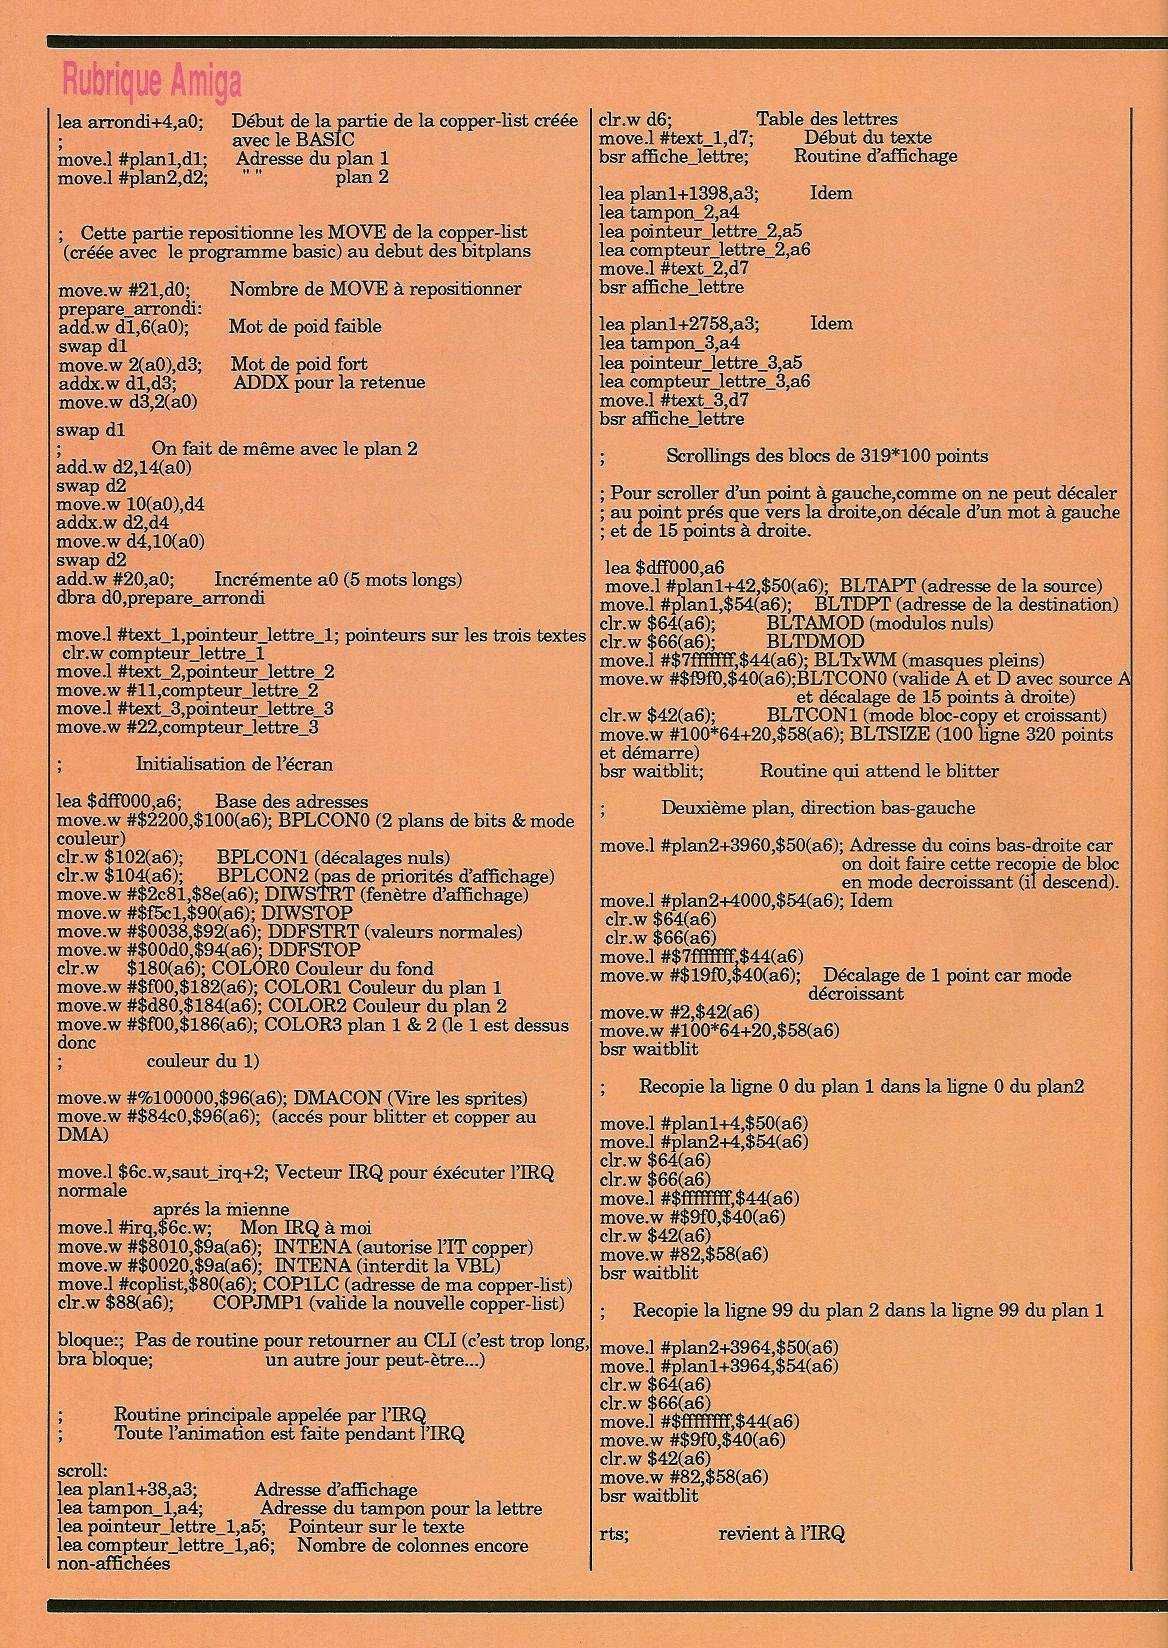
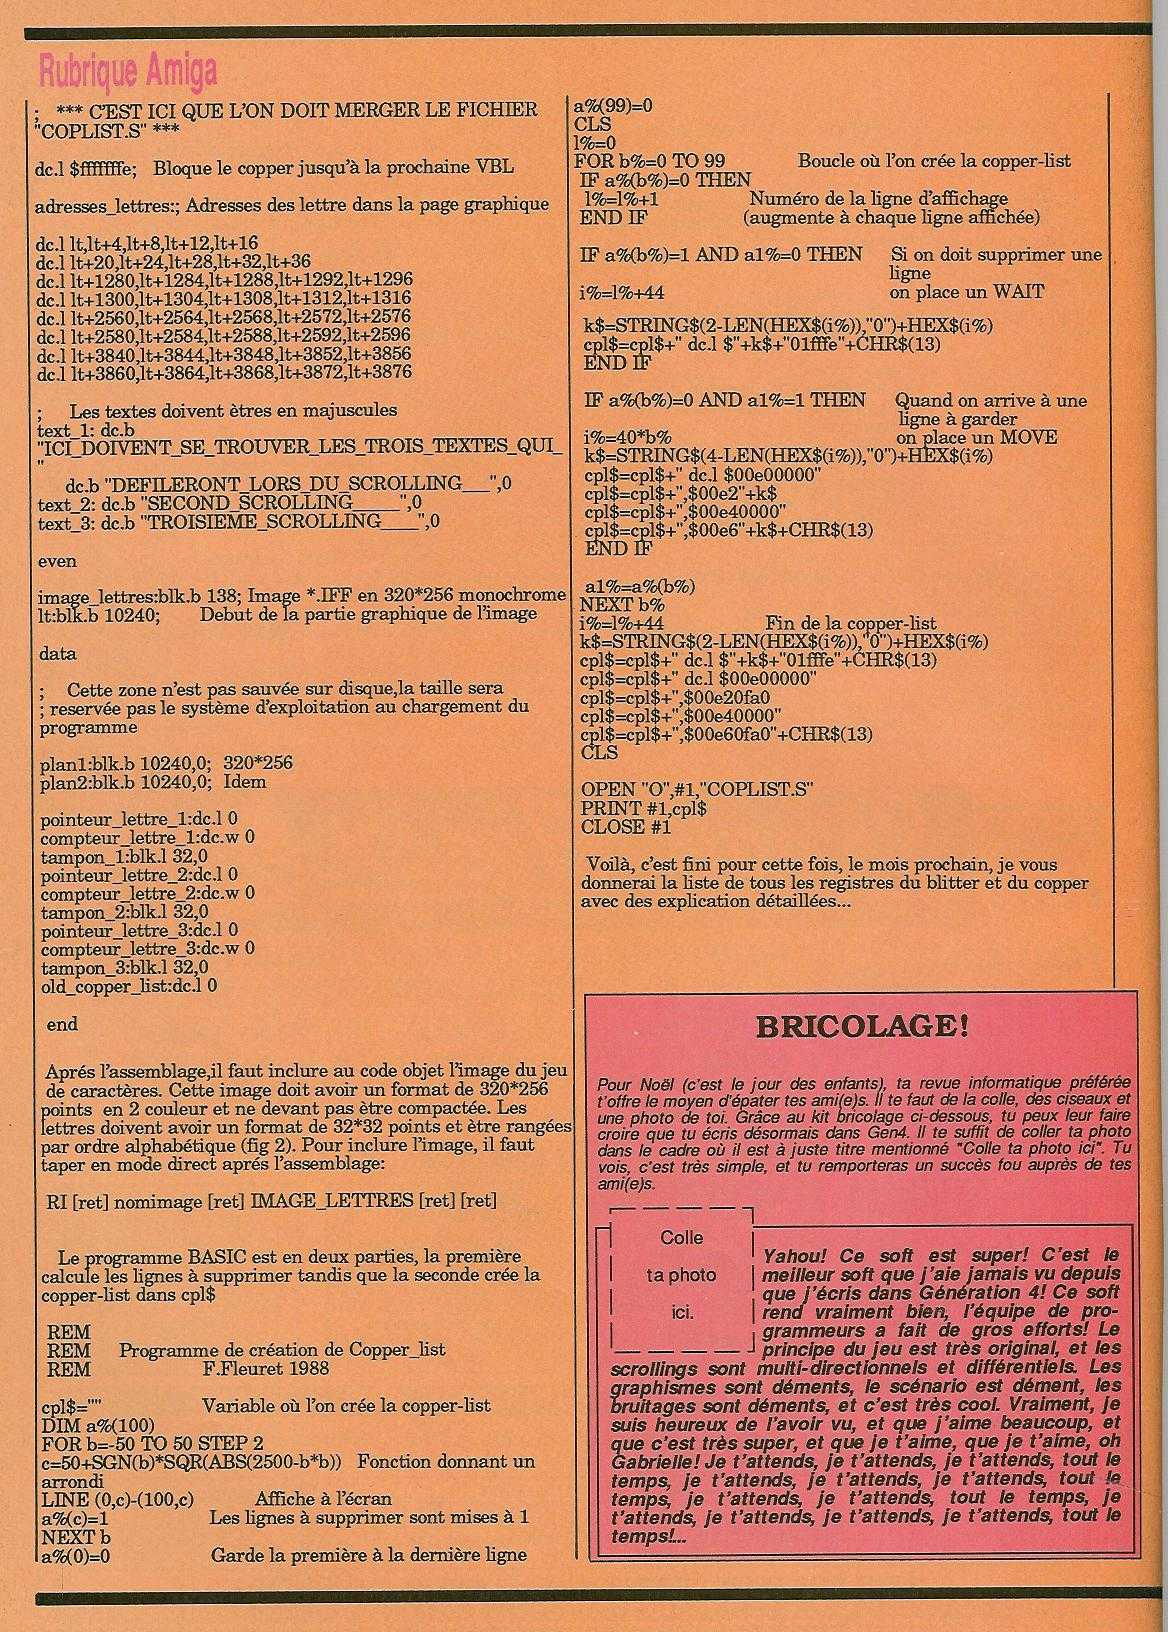
In end 1988, I started programming stuffs on amiga 500. I was 15 years old. I had some assembly courses published into a game magazine called Gen 4 (Generation 4). The lesson were written by one demomaker François Fleuret («MajorFatal» for his nickname, not sure about this). There was one article about scrolling. So I typed it and managed to make it worked. That was the start point of the first demo I’ve done (see next step). In fact the original code is for a sinus scroll, I changed the wave to be flat :).
Here is the magazine (Jan 1989). It is in french. Generation 4 was very famous at that time, with another Magazine called TILT.
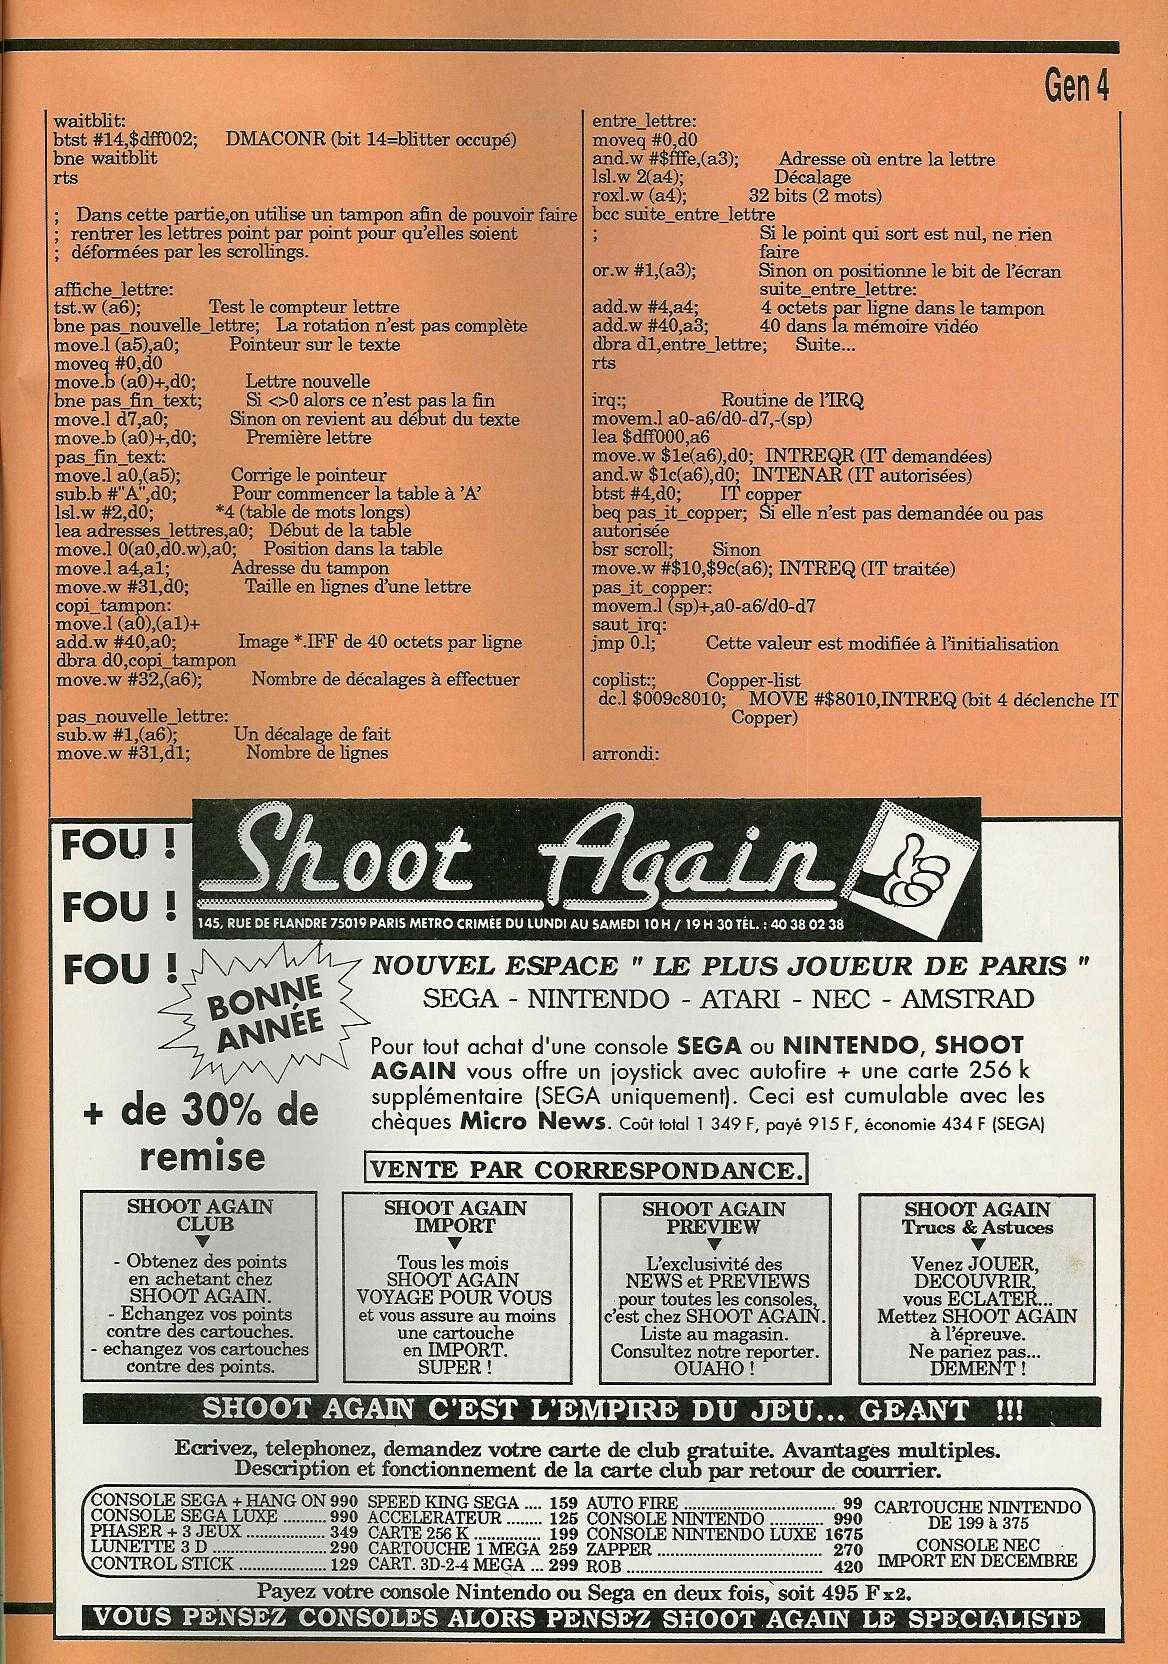
(Full magazines at http://www.abandonware-magazines.org/ )
Remember that internet was not there, so access to knowledge was harder. Need to buy books, magazines and talk with people 🙂.
In order to create executable on Amiga, you need a «compiler» or «assembler». This is a tool that convert your program (called «source code») into an executable binary. The source code I used are files with the «.s» extension.
There were two main compiler on amiga. Kseka / AsmOne in one hand and devpack in another hand. I mainly used the two first ones (kseka and asmone).
AsmOne (was called Kseka before, this is quite the same program) is a real nice program. It is what we call now an «IDE» (Integrated Development Environement). That means you can everything when launching AsmOne.
Here is one picture:
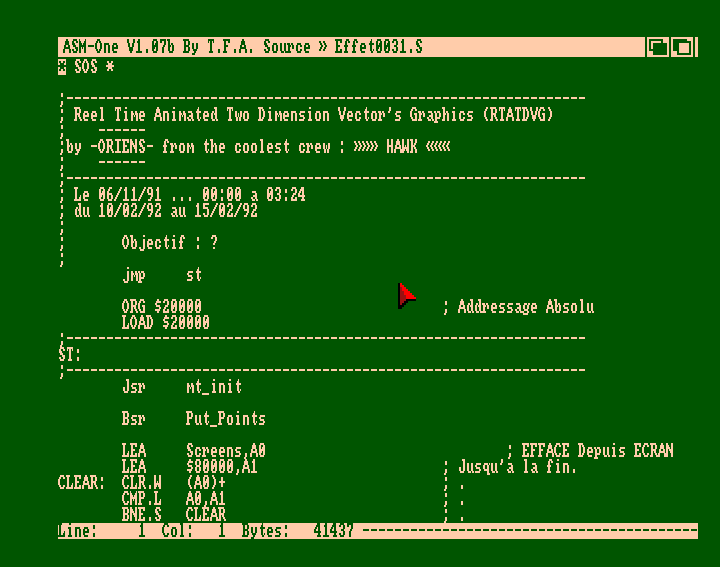
The tool is mainly divided into two parts: The command part, and the text editor. You can switch from one to another by pressing the «esc» key.
I’ve recorded a video showing how to create one very simple program. On the video you can can these steps:
loop:
move.w $dff006,$dff180
bra loop
(in fact this is the dummy version of the program, because this is infinite loop and never end. In the video it is a clever version that exit using a counter).
You can see some colors appearing on screen. This is because the program is a very fast loop where the value of the electron beam ($dff106) (changing very quickly) is put into the color 0 ($dff180) (the back color). So you can see lot of colors (each 8 pixels a new color). The D0 register is used to loop 65000 times, which is equivalent to 2 second approximately.
The dollar sign is used to write hexadecimal values ( $dff006 ).
The DBRA function loop until the register reach the value -1 (not 0 as I wrote in the video). You can see that when exiting the program, the D0 register is equal to $0000FFFF which is «-1».
RTS means «return from subroutine». This is a clean way to exit a program.
MOVE is an operation to … move data 🙂…. The syntax is MOVE SOURCE,DESTINATION.
MOVE.W is used to specify the size. W stand for WORD (2 bytes, 16bits), B stand for BYTE (1 byte, 8bits), L stand for LONG (4 bytes, 32 bits).
All registers are 32 bits (4 bytes)
HERE are some more info about 68000 assembly language.
So now you have done your first program!
Let’s see something more complicated.
Demo of that time
Tom Soft – Vector Balls Demo from 1989 (Thomas Landspurgh)
Step6 Step8